
SecureMyEmail logoSecureMyEmail

Google Workspace security guide

Check SPF, DKIM and DMARC in Google Workspace

A practical, step-by-step guide for Australian businesses. Protect your domain from spoofing by configuring and enforcing all three email-authentication protocols correctly in Google Workspace.

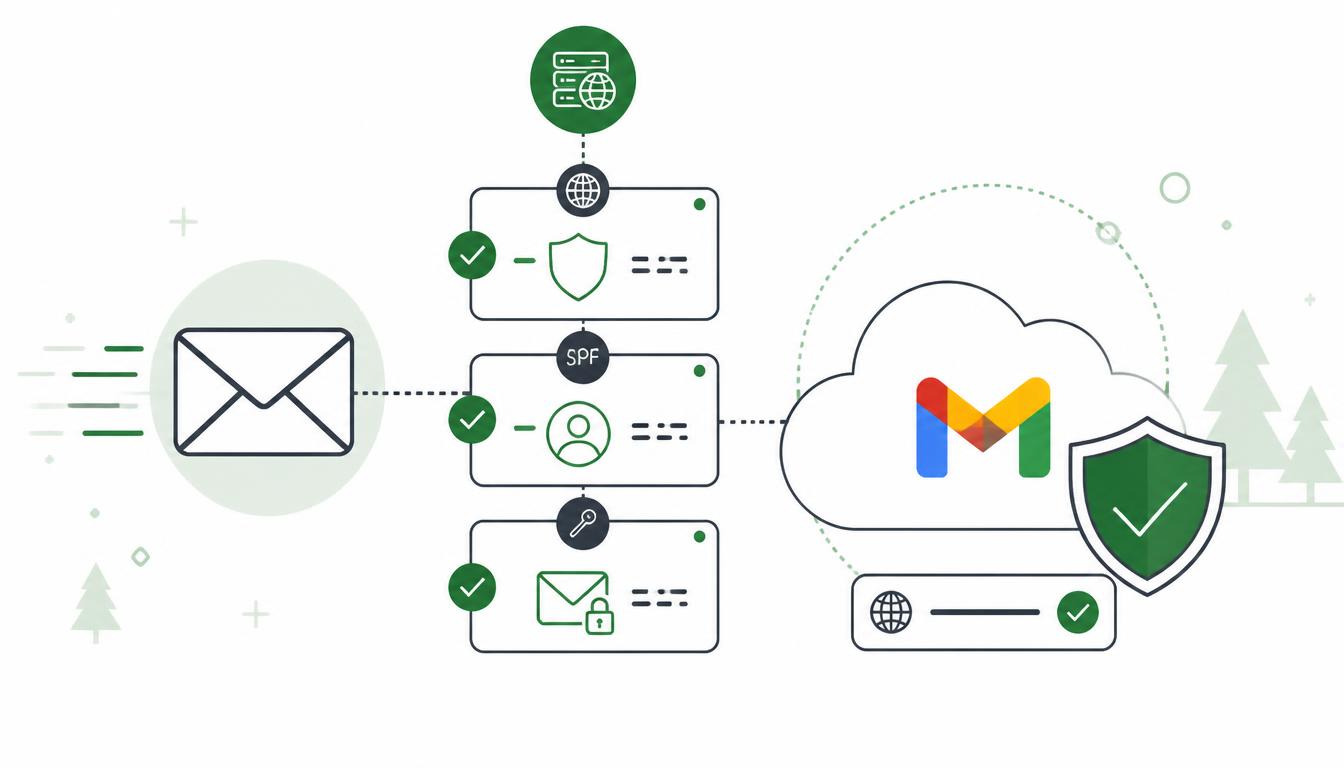
Google Workspace SPF, DKIM and DMARC email authentication schematic with DNS records and shielded domain

Recommended method: configure SPF and DKIM first, then move DMARC to enforcement

SPF, DKIM and DMARC work together to help prevent criminals from impersonating your domain. Google recommends configuring SPF and DKIM first, monitoring DMARC reports, and then gradually moving DMARC from p=none to p=quarantine or p=reject. Complete this assessment for every domain and subdomain used to send email.

Before you begin

You will need:

  • Google Workspace Super Administrator access.
  • Access to the domain's DNS hosting provider.
  • A complete list of systems that send email using your domain, including Google Workspace, website contact forms, marketing platforms, CRM and accounting systems, printers and scanners, helpdesk or monitoring platforms, payroll, invoicing and booking systems, and third-party SMTP services.
  • A dedicated mailbox, Google Group or DMARC reporting service.

Before changing anything:

  • Export or screenshot the existing DNS records.
  • Record the current SPF, DKIM and DMARC values.
  • Confirm who controls the domain's DNS.
  • Identify all legitimate email-sending systems.
  • Prepare a rollback copy of each current record.
  • Consider temporarily reducing the relevant DNS TTL values to one hour.

Why this matters

SPF, DKIM and DMARC work together to help prevent criminals from impersonating your domain. Google recommends configuring SPF and DKIM first, monitoring DMARC reports, and then gradually moving DMARC from monitoring (p=none) to enforcement (p=quarantine or p=reject).

Complete this assessment for every domain and subdomain used to send email. Gaps here let attackers spoof your domain to your own clients and suppliers — a very common finding, and one of the cheapest to fix.

1

Check the existing SPF record

SPF identifies the servers and services authorised to send email for your domain.

  • Sign in to the organisation's DNS hosting provider.
  • Open the DNS management page for the domain.
  • Locate the TXT record beginning with: v=spf1
  • Confirm there is only one SPF record for the domain.
  • Confirm the record includes Google Workspace: include:_spf.google.com
  • If Google Workspace is the only service sending email, Google currently recommends: v=spf1 include:_spf.google.com ~all
  • Identify any additional services sending email as your domain.
  • Obtain each provider's exact SPF requirements.
  • Add those authorised services to the existing SPF record — do not create another SPF record.
  • For example: v=spf1 include:_spf.google.com include:servers.mcsv.net ~all
  • Remove obsolete sending services only after confirming they are no longer in use.
  • Save the DNS record and wait for DNS propagation.
  • Verify the published SPF record using a DNS lookup tool.
  • Send an external test email and confirm the message header reports: spf=pass

Google states that DNS changes may take up to 48 hours to become fully effective. SPF permits a maximum of ten DNS-generating lookups; nested include: entries also count.

2

Check whether DKIM is enabled

DKIM adds a digital signature to outgoing messages. It helps receiving systems verify that the message was authorised by your domain and was not altered in transit.

  • Sign in to the Google Admin console as a Super Administrator.
  • Go to: Menu → Apps → Google Workspace → Gmail
  • Select Authenticate email.
  • Under Selected domain, choose the domain you want to check.
  • Review the DKIM status.
  • If the status says Authenticating email with DKIM, DKIM is enabled.
  • Repeat the check for every active domain used to send email.
  • If DKIM is not enabled, continue with the following steps.

A new Google Workspace domain may need Gmail enabled for 24–72 hours before a DKIM key can be generated.

3

Generate the Google Workspace DKIM record

From Apps → Google Workspace → Gmail → Authenticate email, select the required domain.

  • Select Generate new record.
  • For the DKIM key length, select: 2048. A 2048-bit key is recommended where supported by the DNS provider.
  • Leave the selector as: google. If google is already used by another active DKIM record, enter a different selector.
  • Select Generate.
  • Google will display the DNS TXT record name and the DNS TXT record value.
  • Copy both values exactly.
  • Do not select Start authentication yet.

Do not manually construct the destination values from an old example. Google introduced newer DKIM record formats for some domains, so the exact values should be copied from the Admin console.

4

Publish the DKIM record in DNS

The DKIM record must be created at your DNS hosting provider before authentication can be started.

  • Sign in to the domain's DNS hosting provider.
  • Open the DNS record management page.
  • Create a new TXT record.
  • Enter the record name supplied by Google. It will normally resemble: google._domainkey
  • Enter the complete DKIM value supplied by Google. It will begin with: v=DKIM1;
  • Save the record and wait for the DNS record to propagate.
  • Return to: Google Admin console → Apps → Google Workspace → Gmail → Authenticate email.
  • Select the correct domain.
  • Select Start authentication.
  • Confirm the status changes to: Authenticating email with DKIM.
  • Repeat this process for every domain used to send email.

Some DNS providers automatically add the domain name. Check that the result is not incorrectly created as google._domainkey.example.com.example.com.

5

Verify SPF and DKIM using a test email

Do not proceed to strict DMARC enforcement until legitimate Google Workspace and third-party messages are passing authentication.

  • Send a message from the Google Workspace domain to an external Gmail or Google Workspace account.
  • Do not send the test message to yourself within the same organisation.
  • Open the received message.
  • Select the three-dot More menu beside Reply.
  • Select Show original.
  • Confirm the results include: SPF: PASS and DKIM: PASS.
  • Check that the DKIM signing domain aligns with the address displayed in the From field.
  • Repeat the test from important third-party email platforms.
6

Check the existing DMARC record

DMARC tells receiving mail systems what to do when a message using your domain fails authentication.

  • Sign in to the DNS hosting provider.
  • Locate the TXT record at: _dmarc.yourdomain.com
  • Confirm there is only one DMARC record.
  • Check its current policy.
  • Confirm that the record includes an aggregate reporting address using rua=.
  • Confirm the reporting mailbox, Google Group or monitoring service is active.
  • Review the reports to identify all services sending as the domain.

DMARC records for custom domains are configured at the DNS provider, not in the Google Admin console. Google recommends configuring SPF and DKIM and allowing them to authenticate mail for at least 48 hours before enabling DMARC.

DMARC valueMeaning
p=noneMonitor failures without requesting enforcement
p=quarantineAsk receivers to mark or quarantine failing messages
p=rejectAsk receivers to reject failing messages
7

Start or confirm DMARC monitoring

If DMARC has not been configured, begin with a monitoring policy.

  • Create a monitoring record: v=DMARC1; p=none; pct=100; rua=mailto:dmarc@yourdomain.com (replace dmarc@yourdomain.com with the dedicated reporting address).
  • Create or edit the _dmarc TXT record.
  • Save the record.
  • Verify that the record is publicly visible.
  • Monitor the reports daily for at least one week.
  • Identify every sending IP address and platform.
  • Classify each source as: Authorised and passing, Authorised but incorrectly configured, or Unknown or unauthorised.
  • Correct every legitimate authentication or alignment failure.

Google recommends at least one week at p=none, as this will usually provide a representative sample of the organisation's email sources. Organisations with monthly or infrequent mail systems may need a longer monitoring period.

8

Confirm DMARC alignment

A message passes DMARC when at least one of the following succeeds: SPF passes and its authenticated domain aligns with the visible From domain, or DKIM passes and its signing domain aligns with the visible From domain.

  • A message can show spf=pass or dkim=pass but still fail DMARC if the domains do not align.
  • For every legitimate third-party sender, confirm the provider is authorised.
  • Configure its custom DKIM signing feature using your domain.
  • Configure a custom Return-Path or envelope sender where supported.
  • Add its approved SPF requirement if necessary.
  • Consider using a dedicated subdomain for marketing or bulk email.
  • Send another test message.
  • Confirm the header reports: dmarc=pass.
9

Move DMARC to quarantine

Once the reports show that legitimate mail passes DMARC, move to enforcement gradually.

  • Start with a small percentage. Update the _dmarc TXT record to: v=DMARC1; p=quarantine; pct=10; rua=mailto:dmarc@yourdomain.com
  • For a large or complex organisation, consider beginning at 1% or 5%.
  • Save the updated DNS record.
  • Verify the published value.
  • Review DMARC reports daily.
  • Monitor spam-placement and email-delivery complaints.
  • Test important business systems.
  • If no legitimate email is affected, progressively increase the percentage: pct=25, pct=50, pct=75, pct=100.
  • At full quarantine, the record will resemble: v=DMARC1; p=quarantine; pct=100; rua=mailto:dmarc@yourdomain.com

Receiving providers generally place failing messages in spam or quarantine, but the receiving provider controls the final action.

10

Move DMARC to reject

Move to reject only after the domain has operated successfully at full quarantine and all legitimate mail sources are correctly authenticated.

  • Change the record to reject at a low percentage: v=DMARC1; p=reject; pct=10; rua=mailto:dmarc@yourdomain.com
  • Save and verify the published record.
  • Review DMARC reports daily.
  • Check for delivery failures from important systems.
  • Progressively increase enforcement: pct=25, pct=50, pct=75, pct=100.
  • The final record will resemble: v=DMARC1; p=reject; pct=100; rua=mailto:dmarc@yourdomain.com
  • Continue monitoring after reaching full enforcement.
  • Repeat the assessment for other domains and sending subdomains.
StageExample policy
Monitorp=none; pct=100
Limited quarantinep=quarantine; pct=10
Full quarantinep=quarantine; pct=100
Limited rejectp=reject; pct=10
Full rejectp=reject; pct=100
11

Complete final testing

  • Send external messages from normal Gmail accounts.
  • Test aliases, groups and delegated mailboxes.
  • Test website forms.
  • Test invoices and accounting applications.
  • Test marketing and CRM platforms.
  • Test printers, scanners and automated alerts.
  • Examine the received headers.
  • Confirm: spf=pass, dkim=pass, dmarc=pass.
  • Record the final DNS values.
  • Document every authorised sending service.
  • Record the implementation and rollback details.
  • Assign responsibility for ongoing DMARC report reviews.
  • Reassess the records whenever a new email-sending service is introduced.

SPF warnings

  • Do not create multiple SPF records. Multiple records can cause SPF to fail.
  • Do not replace the existing record without identifying all legitimate senders.
  • Missing systems may cause legitimate email to be marked as spam or rejected.
  • SPF permits a maximum of ten DNS-generating lookups. Nested include: entries also count.
  • Website forms, marketing systems, scanners and automated alerts are commonly overlooked.
  • Do not copy a generic SPF record without confirming which services the organisation actually uses.
  • Every active sending subdomain requires its own SPF assessment.

DKIM warnings

  • Do not click Start authentication until the DNS record has been published.
  • Copy the key exactly. Missing characters or unwanted spaces will cause DKIM to fail.
  • Some DNS providers automatically add the domain name. Check that the result is not incorrectly created as google._domainkey.example.com.example.com.
  • Each Google Workspace domain requires its own unique DKIM configuration.
  • Third-party services might require separate DKIM records.
  • Outbound gateways that add footers or otherwise modify messages can invalidate DKIM signatures.
  • Do not delete an existing DKIM record until you understand which service uses it.

Important warnings

  • Moving directly to p=quarantine or p=reject can disrupt legitimate business email.
  • A reject policy can prevent incorrectly authenticated messages from being delivered at all.
  • Website forms, CRM systems, marketing platforms, scanners and billing systems are frequently overlooked.
  • SPF authentication alone might not satisfy DMARC if the Return-Path domain does not align with the visible From domain.
  • Third-party DKIM can pass but still fail DMARC if the provider signs using its own domain.
  • Strict alignment using adkim=s or aspf=s can cause legitimate subdomain email to fail. Relaxed alignment is the default and is normally safer unless strict alignment has been specifically assessed.
  • Subdomains inherit the parent DMARC policy unless an sp= policy or separate subdomain DMARC record applies.
  • Google does not support sending DMARC forensic reports through the ruf tag. Concentrate on aggregate rua reports.
  • DMARC reports may contain large volumes of technical XML data. Use a dedicated reporting mailbox or specialist reporting service rather than a staff member's normal inbox.
  • DNS changes can take up to 48 hours to propagate.
  • SPF, DKIM and DMARC reduce domain spoofing but do not protect a compromised Google Workspace account.

Google Workspace disclaimer

These instructions provide general security guidance and are not a substitute for a technical assessment of your organisation's Google Workspace environment, DNS configuration, domains and third-party email systems. Incorrect SPF, DKIM or DMARC changes can cause legitimate business email to be marked as spam, quarantined or permanently rejected.

Before applying quarantine or reject enforcement, a qualified Google Workspace engineer should identify every authorised sender, validate SPF and DKIM alignment, review DMARC reports, test all business systems and prepare a rollback plan. Netlogyx/Securemyemail accepts no responsibility for email loss, delayed delivery, rejected messages, DNS errors or business interruption resulting from changes performed without appropriate technical assessment, testing and ongoing monitoring.